Tuesday, April 23, 2013

I know I can use this for something

When I bought this at the thrift store for $5.00 I had no idea what I was going to use it for.  I only knew it had potential.  I painted it black.  I added a sign we already had to the top with a nail.  I then added long screws.  I covered the nails with electric tape to give it some cushion and to match the black shelf.  I then painted the head of the screws black.  That's it, only $5.00 for the shelf.  Eventually I need to make a wine rack
before

after


hanging above the bar

Monday, April 22, 2013

One man's trash is another mans medicine cabinet

I bought this at a thrift shop for 5.00.  I had to nail in some spots because the frame was coming apart, easy fix.  Now nothing was easier than this project.  Paint, hinges chicken wire and that's it.  I already had the supplies from a previous project.  Now my hubby has his own area. Total cost $5.00


before
after
area hidden, used hinges and a magnetic catch

Glass used to hold swabs

after

Friday, April 19, 2013

what a difference some paint makes

So I am slowly making it from one room to the next.  Every door is dark 70's brown.  It takes a lot of paint and primer to cover it.  Anyways no pictures before hand, but this is my newly painted bathroom with light doors now.  I love it.

newly painted bathroom

newly painted bathroom

This self I bought for .10 at a garage sale.  I painted it and added some chicken wire to keep the glass items in place

I love birds, my little towel holder

newly painted bathroom

newly painted bathroom
This something I added to my other sink area.  Its an apothecary jar I found at TJ max.  I added some organic soap by a company that is locally owned.  We need to support local business.  It smells amazing.

before light fixture
I had this piece of glass cut by Beehive glass.  They finished the edges and drilled the hole for me.  For me it was cheaper than buying a new light fixture.  Gives it a more modern look and I didn't have to install anything.  Total cost was $28.00


So I like green

Leave it up to me to have a rug inspire my newest project.  I love green so when I saw this rug of course I thought "Yep I'm going to paint my cabinet sink  cupboards green.  This project only cost me the paint, molding and of course the rug.  I started out with the ugliest cabinets ever.  1st step sand and clean cupboards (remove them first). 2nd step I glued wooden squares and molding I cut to size, let dry completely. 3rd step prime them, let dry.  I then added some black paint and again, let dry.  4th step add (what makes me smile every time I say it) Happy camper green paint.  I used 2 coats, let dry between each coat.  5th step I sanded edges and molding to let black paint show through. You can always add more paint if you sand too much. which I did to give it move depth.  I just wipe away any excess.  Its easiest for me to do this process with a craft sponge brush.  6th step add hardware.  7th step your husband laughs at you because you accidentally put the screwdriver in reverse.  Now my problem was I only had three matching cabinet knobs left so I had 2 brass knobs that matched.  I sanded them and spray painted them black and then once that dried painted again with 2 coats of metallic pewter.  I always like to add some feed and wax to the cabinets when I am done. Total cost molding $12.00, paint $14.00 and rug $30.00.  it's funny the rug was more than the cabinets, oh well
This is the drawer before

afterwards

after

after

the knobs that were originally brass

the rug insporation
what I started with


Sunday, April 14, 2013

Big Brass Beast

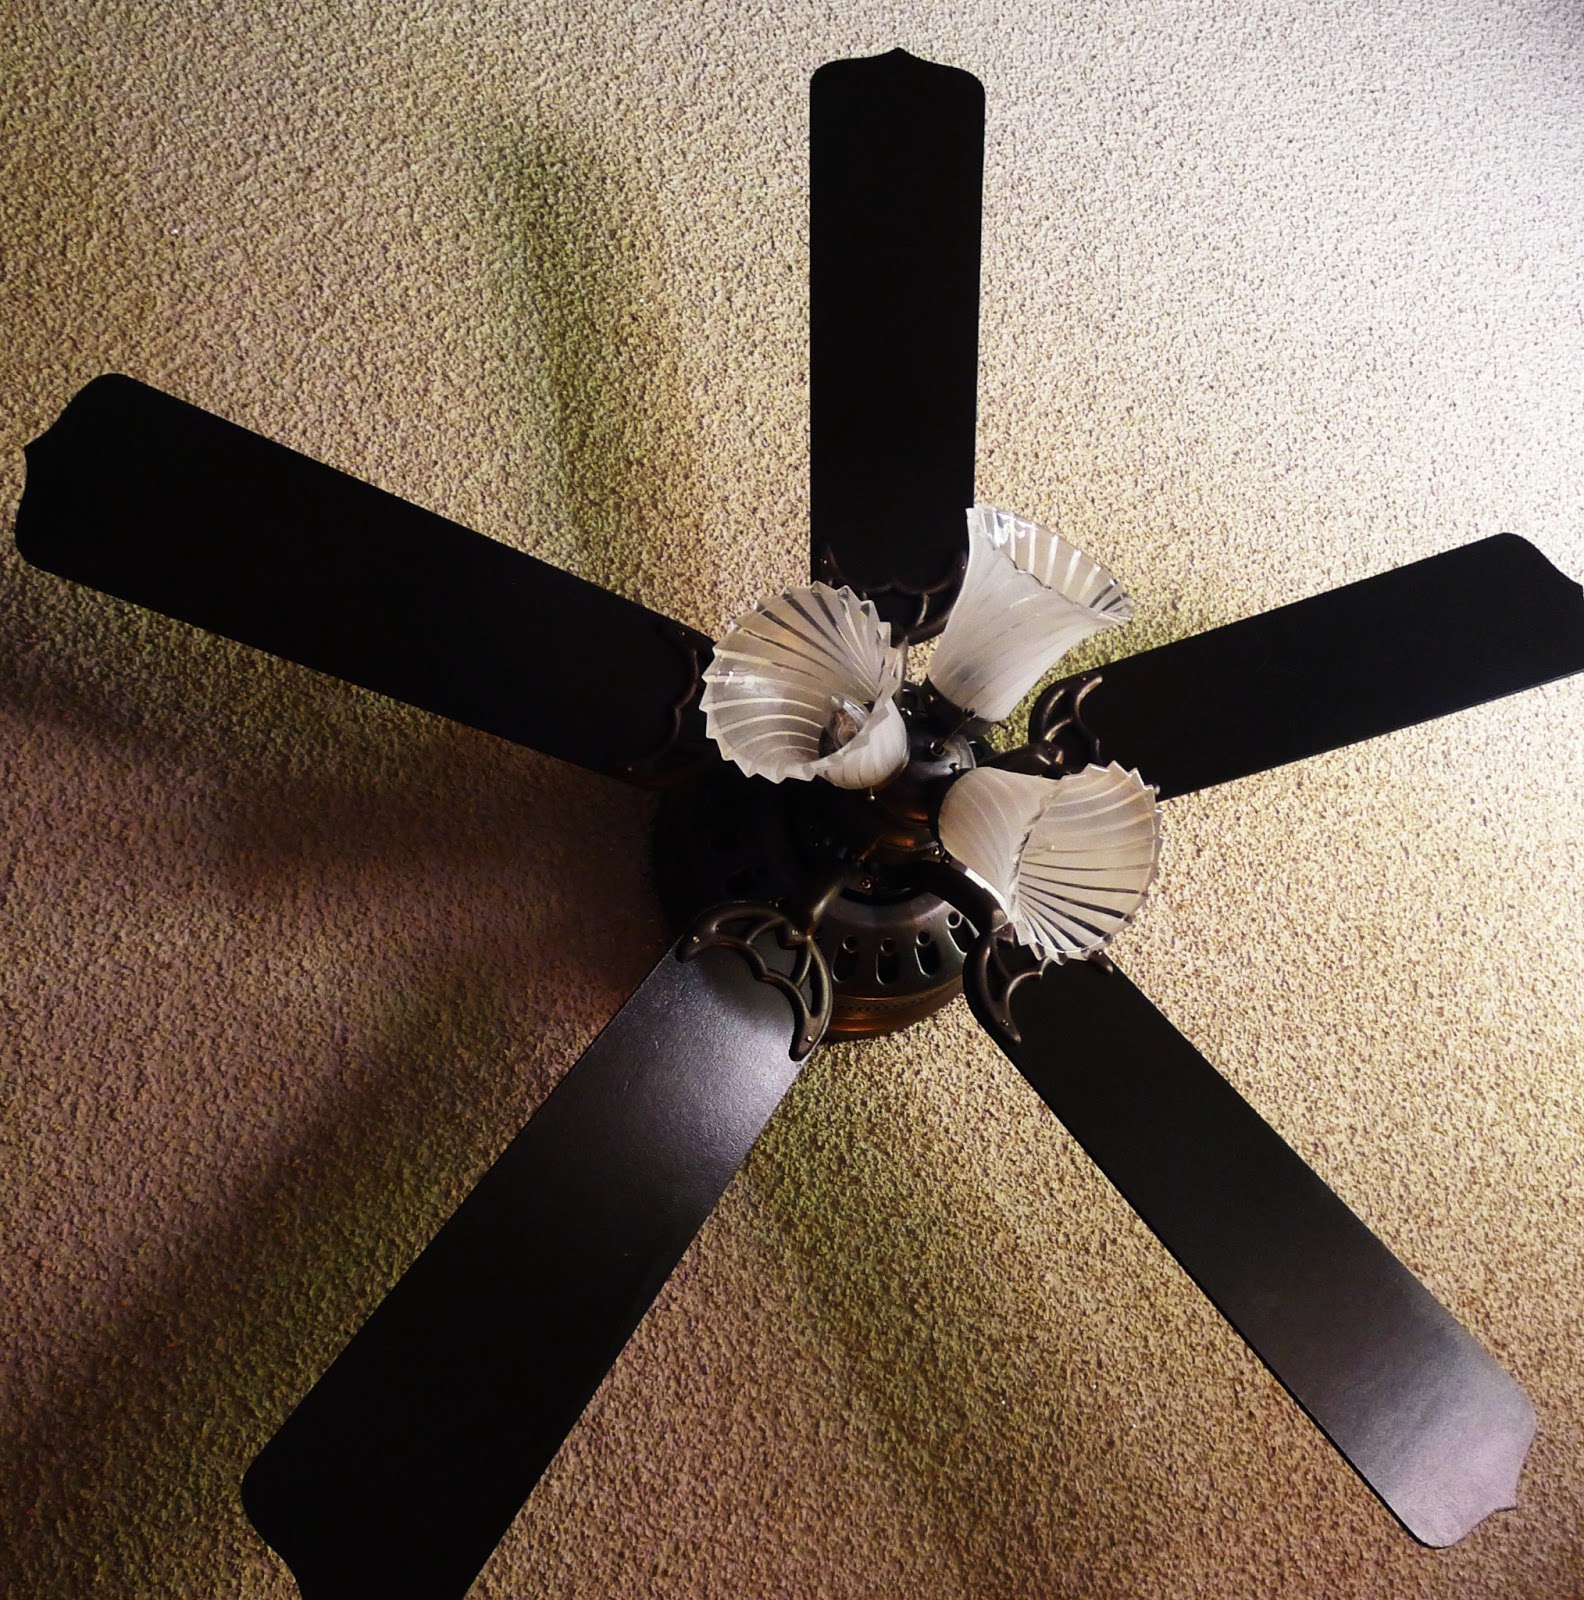
What is better than popcorn ceilings?  A giant brass, wood, ruffly glass ceiling fan.  That draws your attention to the popcorn ceiling.  Here is what I did to change the look of my ceiling fan.  1st I took of the arms and cleaned thoroughly (Gross by the way).  2nd I painted the faux wooden blades with a black/gray color with 3 coats.  3rd I painted the brass arms with layers of paints and I just used craft paints.  I started out with a bronze, then pewter, black, copper, then pewter again.  I was going for a rubbed bronze look.  4th I did the same with the fixture on the ceiling.  I am so lazy I didn't mask off anything.  I managed not to do to bad.  I then put everything back together. Added some glass fixtures I bought at a thrift store for $1.00 each.  I already had the paint so total cost $3.00
Oh all the shiny gold
faux wooden blade


after


after
after

Saturday, April 13, 2013

Let there be light

I have absolutely no light in my backyard,  I am in the process of trying to figure out ways to make it happen.  All the hanging lanterns (that I like) run around $20.00 each.  I went to a thrift shop and found some glass jars around .50 to $1.00.  I purchased some chicken wire at home depot for less than $8.00.  It gave me more than I would need to do all my lights.  I basically built a cage around the glass to hold into place and created a handle.  You can either put real candles, battery operated candles, or a string of Christmas lights. I have not finished them all, but got a start, now if the weather would cooperate.
so much glass so little time

I already had the black holder,  I added the glasses .75 each. built a cage around the glass with chicken wire.

used Christmas lights in these

Decided I was tired of hanging plants on my shepherds hooks that die way to soon.  using them for my lights now.

Friday, April 12, 2013

Use what you already have

We all know it's great to buy brand new.  I unfortunately cannot afford brand new.  Now our yard is in the process of getting done and we have along way to go.  However after a lot of hard work, we are making the yard look better.  I wanted new chairs, but couldn't afford them.  I bought this patio set years ago.  Nice set for $20.00 but there were no seats.  I just recently made new seats from donated wood.  I primed and painted the wood seats to protect the wood.  With paint already bought.  I made the cushions out of leftover fabric.  My only expense was the foam bought at home depot (camping foam pad) $19.97 and 5.63 for fabric protectant. total cost for each chair, slightly less than $7.00.  cheaper than buying new.  I added new paint to my table $6.00.  bought oops paint for my deck $7.00.  Had the benches already just primed and painted $20.00.  bought the candle holder for $1.00, added a touch of gold  bought the glass holders for $4.00 at a thrift shop, just added the beads and battery candles, already had.  just glued the glass in place.  reused a tin can for the fire pit, bricks were free, did buy the top bricks at .75 each.  grate was on clearance for $7.00 and a bag of gravel to catch the ashes $3.00, also added heat resistant paint $5.00 to make the can look new.  Total cost for the fire pit about $23.00.  So far I love it and it is hard work, but It is looking good.  got a few more projects, but it is coming along and is helping me shed some unwanted pounds just keeping busy
my refurbished patio chairs


newly painted table
my homemade candelier

a closer look


getting things looking nice
earl's fire pit project


newly stained deck
can't wait to use


fire pit
loving the fire pit, made great smores